Rescue Your Photos – Fun & Inexpensive Poster Art
Rescue cherished family photos from your computer with an easy, fun, and inexpensive print project from Block Posters.
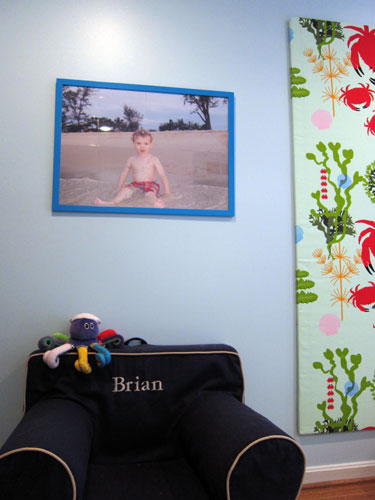
I have thousands of digital photos on my computer. You probably do, too. Look, there’s baby Brian on the beach for the first time… what a great shot! Remember that trip to Europe..? Sure I do, when I look at these dreamy photos from the Irish countryside.
Some memories just bring a smile to my face every time. I’d love to enjoy them on my wall, but these days I’m into scale. As in BIG.
Scale is Expensive
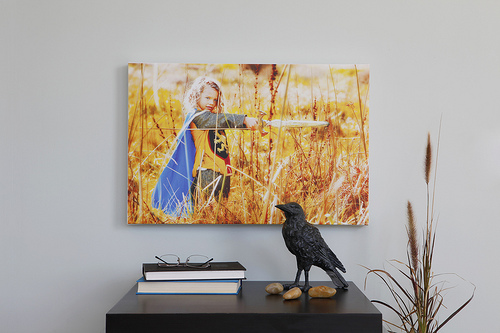
There’s no shortage of websites that will convert your cherished photos to canvas, at varying sizes. For a 20 x 30 inch poster size print from Canvas Pop, you’ll pay anywhere from $129 to $204, depending on options like the thickness of the canvas.
For just a basic rolled up print, with no frame, you’ll pay $99. Then add tax and $14 shipping. (They’ll throw in free shipping if you spend over $150, but note that the popular 20 x 30 poster on 1.5 inch canvas is priced at $149.) And that’s just one print. Expensive!
Print Your Own Poster Sized Photos
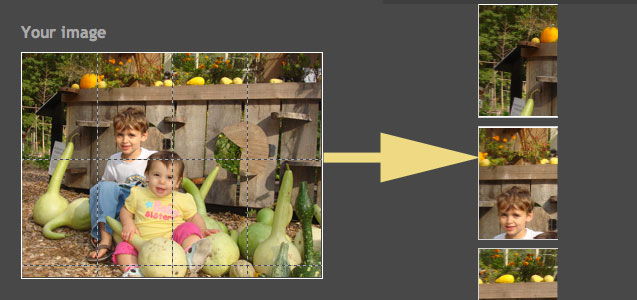
If you love scale as much as I do, you will love Block Posters. Visit this free site to upload your favorite photo. Block Posters takes just a few seconds to convert the image into a perfectly sliced-up PDF file, which you can download and print on your own home printer. You don’t even have to sign up or create a password. So easy and free!
Getting the Poster on Your Wall
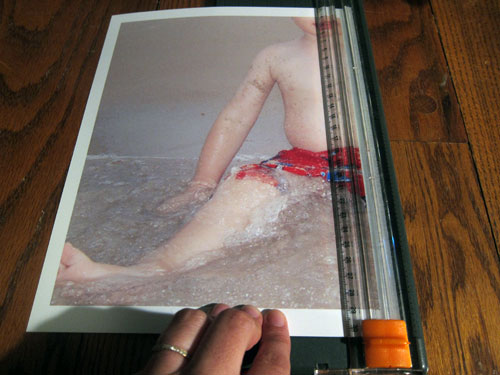
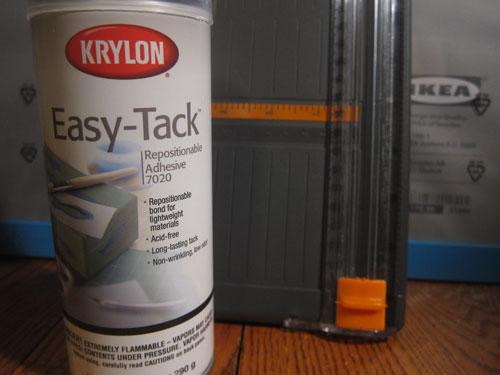
Once you’ve printed the pages, you’ll need to cut off the white border around each image. Many printers don’t print edge to edge, and Block Posters decided leaving in a white border was safest. You could use scissors, but I recommend using a paper trimmer. You’ll get straighter cuts, and finish them faster.
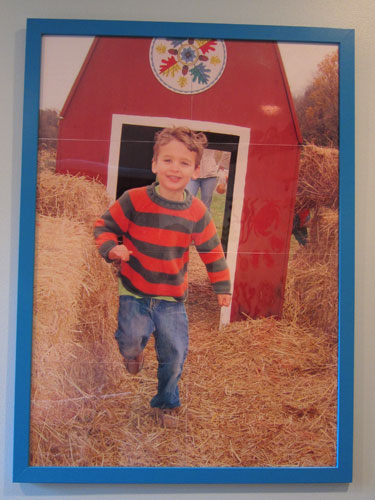
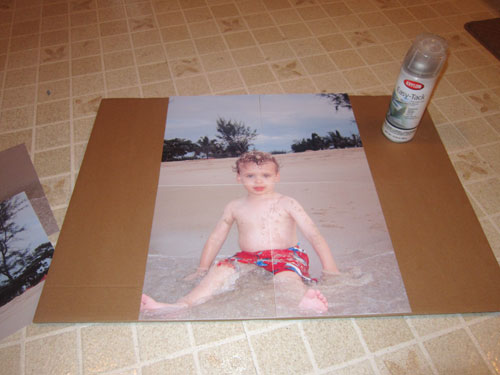
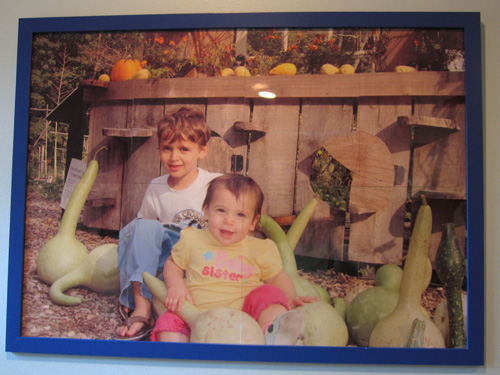
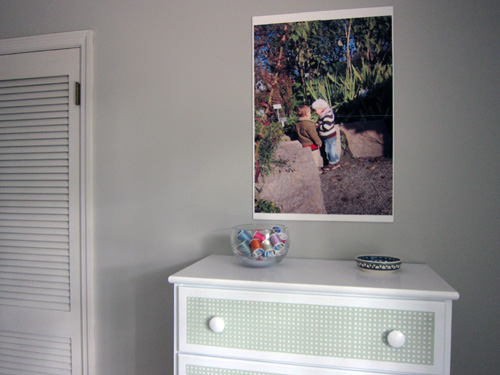
Next, it’s puzzle time. Assemble your poster by piecing it together and gluing it to your chosen surface. I bought poster frames at IKEA for $9.99 each, so I glued my photo to the cardboard backing that came with the frame. Glue both the entire surface and the back of each photo for extra hold.
I used “Easy Tack” from my local craft supply store. It really was repositionable – when I wasn’t happy with the original placement, I could gently peel the photo paper off the cardboard and try again.
When you’re done, trim off any excess paper, and frame! You will see some seams, but don’t fret. On the wall they look great.
Smiles for Every Room
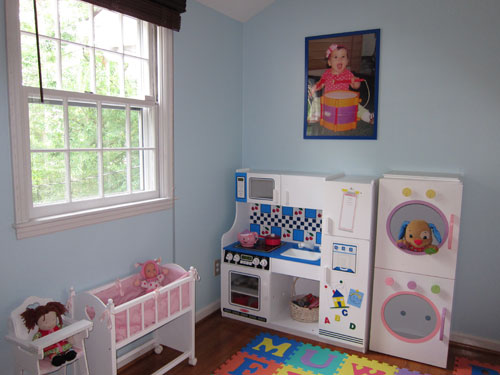
I had the most fun deciding where to place all my new posters. Now I smile every time I walk into the kids’ playroom.
Other Options
The bright colors of these frames are great for a child’s room, but if you don’t live near an IKEA or you’d like something more subdued, mount the poster to a 20 x 30 inch foam board. $2.99 at the local Michael’s.
Totaling It Up
After an initial investment of $7.99 for the spray adhesive, I only had to purchase my desired mounts (poster frames and foam boards). I already owned this Fiskars paper trimmer (available at Amazon for $8.95). As for the paper and ink, these costs are harder to estimate, but let’s say 50 cents for each piece of high quality photo paper and 30 cents in ink. At eight pieces of paper per poster, that totals just $16.39 for each framed poster. Spend even less by using the foam board; total cost $9.39.
The Bottom Line
Compared to $143 for the least expensive, comparably sized canvas poster at Canvas Pop (other vendors priced similarly), this DIY alternative offers both big-time scale for your walls and big-time savings for your wallet. Now that’s something to smile about!
Photo credit: CanvasPop / Creative Commons 2.0

Betsy McConnell
08/08/2011 at 7:23 pmI love this idea! We have tons of great beach shots and my sons room is beach themed this will be a great way to fill up his wall space!
Samantha
08/08/2011 at 7:30 pmThanks, good luck with your project! I like that it’s inexpensive, especially for kids’ photos. They grow so fast, and this way I get to change it up when I want and not fee guilty about the cost.